Power Pages - Controlling User Registration Based on Domain with Azure AD B2C Custom Policy


Recently, one of our clients requires their Power Pages (Power Apps Portal) solution to restrict user registration based on their email domain.
Without putting my security hat on, my direct thought was to create a new row in an existing Dataverse table first.

Then I can write some sneaky client-side JavaScript in one of the web templates that is used in the registration page to get valid domain value from the app setting table and create a function to trigger on register button click to stop the user from registering if we can't find a matching domain value:
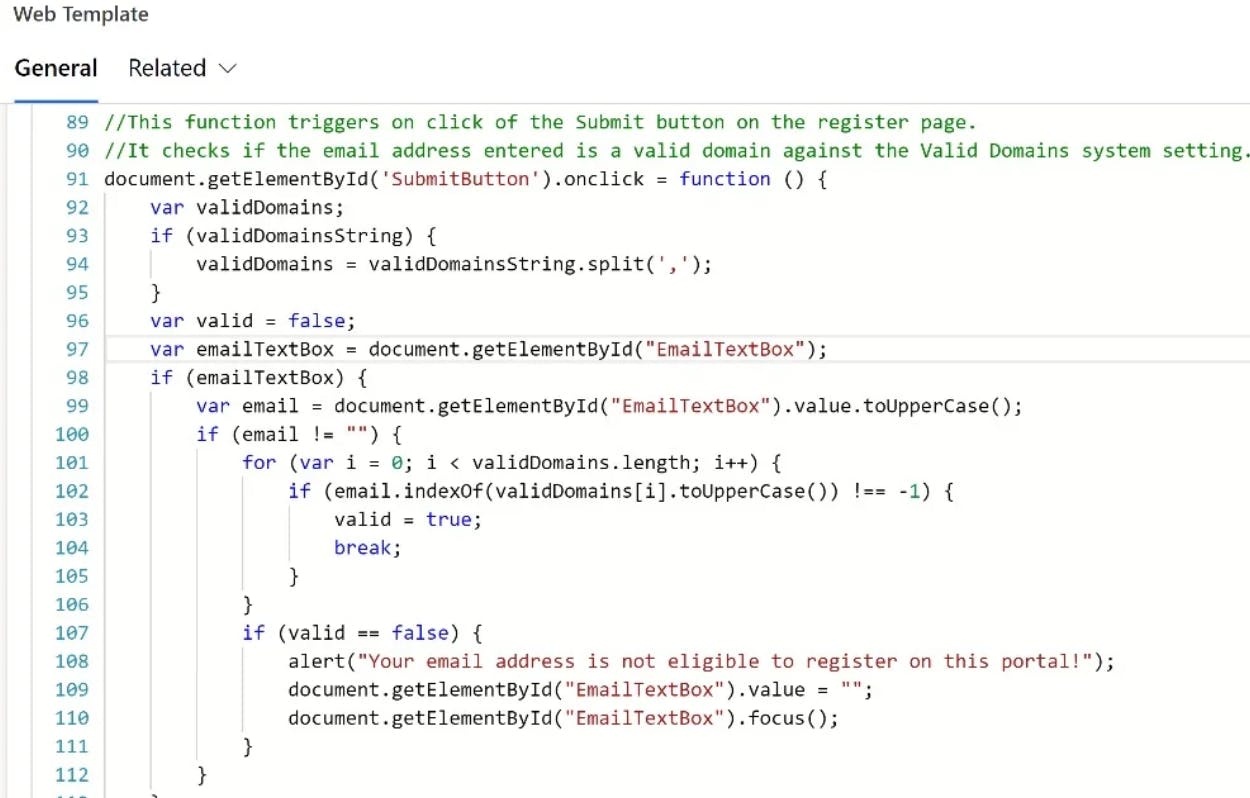
While using preloaded domain values may provide a quick, temporary fix, I will guarantee that your security engineer is not going to be happy with it for the following reasons:
The preloaded domain value can be updated in the browser's Dev tools to bypass the restriction.
Valid domain names should not be exposed to the public as hackers might tailer attack the restriction by using an email domain that is similar to the valid one.
The business also might consider those domain values as confidential in some cases and we should not expose them in any circumstances.
Solution
What's the solution? Well, the answer is to either push the validation to the server side or implement the validation during the authentication which is what I am going to cover in this post.
Using Azure Active Directory B2C Identity provider for authentication
As suggested by Microsoft documentation, Azure AD B2C is recommended to handle Power Pages authentication. After some digging, I found that AD B2C allows us to create custom policies to enforce domain restriction rules. Here is a brilliant GitHub repo that contains lots of Azure AD B2C custom policy samples and I happen to find the exact one we need 🎉🎉🎉🎉

Since it's doable, here are the steps I am going to follow:
Create Azure B2C Tenant. And create an app registration for your Power Pages solution.
Create a custom policy.
Configure Power Pages solution to use Azure B2C as the identity provider.
1. Create Azure B2C Tenant and create an app registration for your Power pages solution
Not going to talk too much about what to do here as Microsoft has provided the detailed steps already.

Once you have done those two steps, make sure you copy the Client Id of your new registered app:

2.Create Custom policies
Custom policies in Azure AD B2C are XML files that define technical profiles and user journeys. Fortunately, we don't have to write those .xml files from scratch as Microsoft has provided some pre-build templates for policies of different scenarios. Our goal is to create custom policies using the pre-build template to restrict user email domains for registration.
- Create signing key and encryption key for the Identity Experience Framework. Then you need to register Identity Experience Framework applications and ProxyIdentityExperienceFramework application. Once done, navigate to this github repo where we can find a custom policy Starter Pack:

If you used Github before, feel free to clone the repo and open it from your preferred IDE like VS Code. Or, you can just click on Code button and download the repo as ZIP file:

Unzip the file and open the folder in VS code, you should see the following folders and files.

Let's take a closer look at the following folders. Each folder contains base template files for different user journeys of authentication.
LocalAccounts - Enables the use of local accounts only.
SocialAccounts - Enables the use of social (or federated) accounts only.
SocialAndLocalAccounts - Enables the use of both local and social accounts.
SocialAndLocalAccountsWithMfa - Enables social, local, and multi-factor authentication options.
Since we are focusing on integrating Power pages with Azure B2C, let's choose the easiest template LocalAccounts and try to apply extra logic to restrict email domains.
In all of the files in the LocalAccounts folder, replace the string yourtenant with the name of your Azure AD B2C tenant. You can find the tenant name form the Azure AD B2C Overview page:


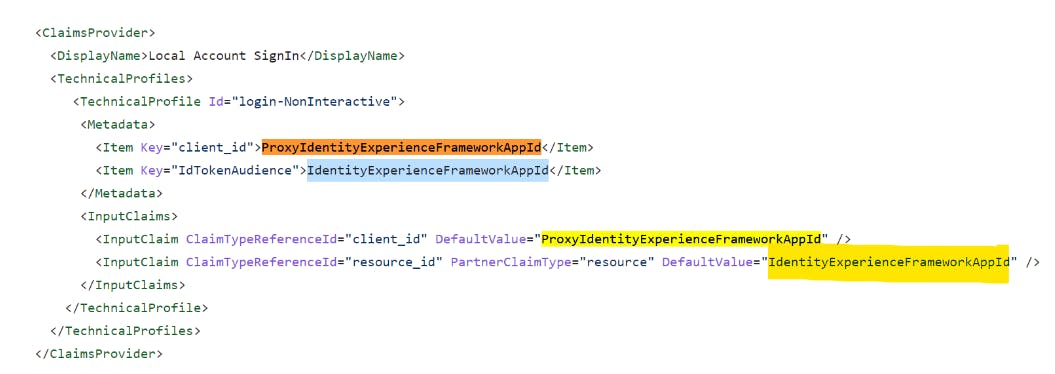
Select the TrustFrameworkExtensions.xml file, and replace IdentityExperienceFrameworkAppId with the application ID of the IdentityExperienceFramework application that you created earlier.
Replace ProxyIdentityExperienceFrameworkAppId with the application ID of the ProxyIdentityExperienceFramework application that you created earlier:
Then we need to add an extra policy to implement the domain check logic. Navigate to this link and you can find the policy example:
Copy the content of above .xml file and create a new file under the LocalAccount folder with the same content and name it SigninRestriction.xml.
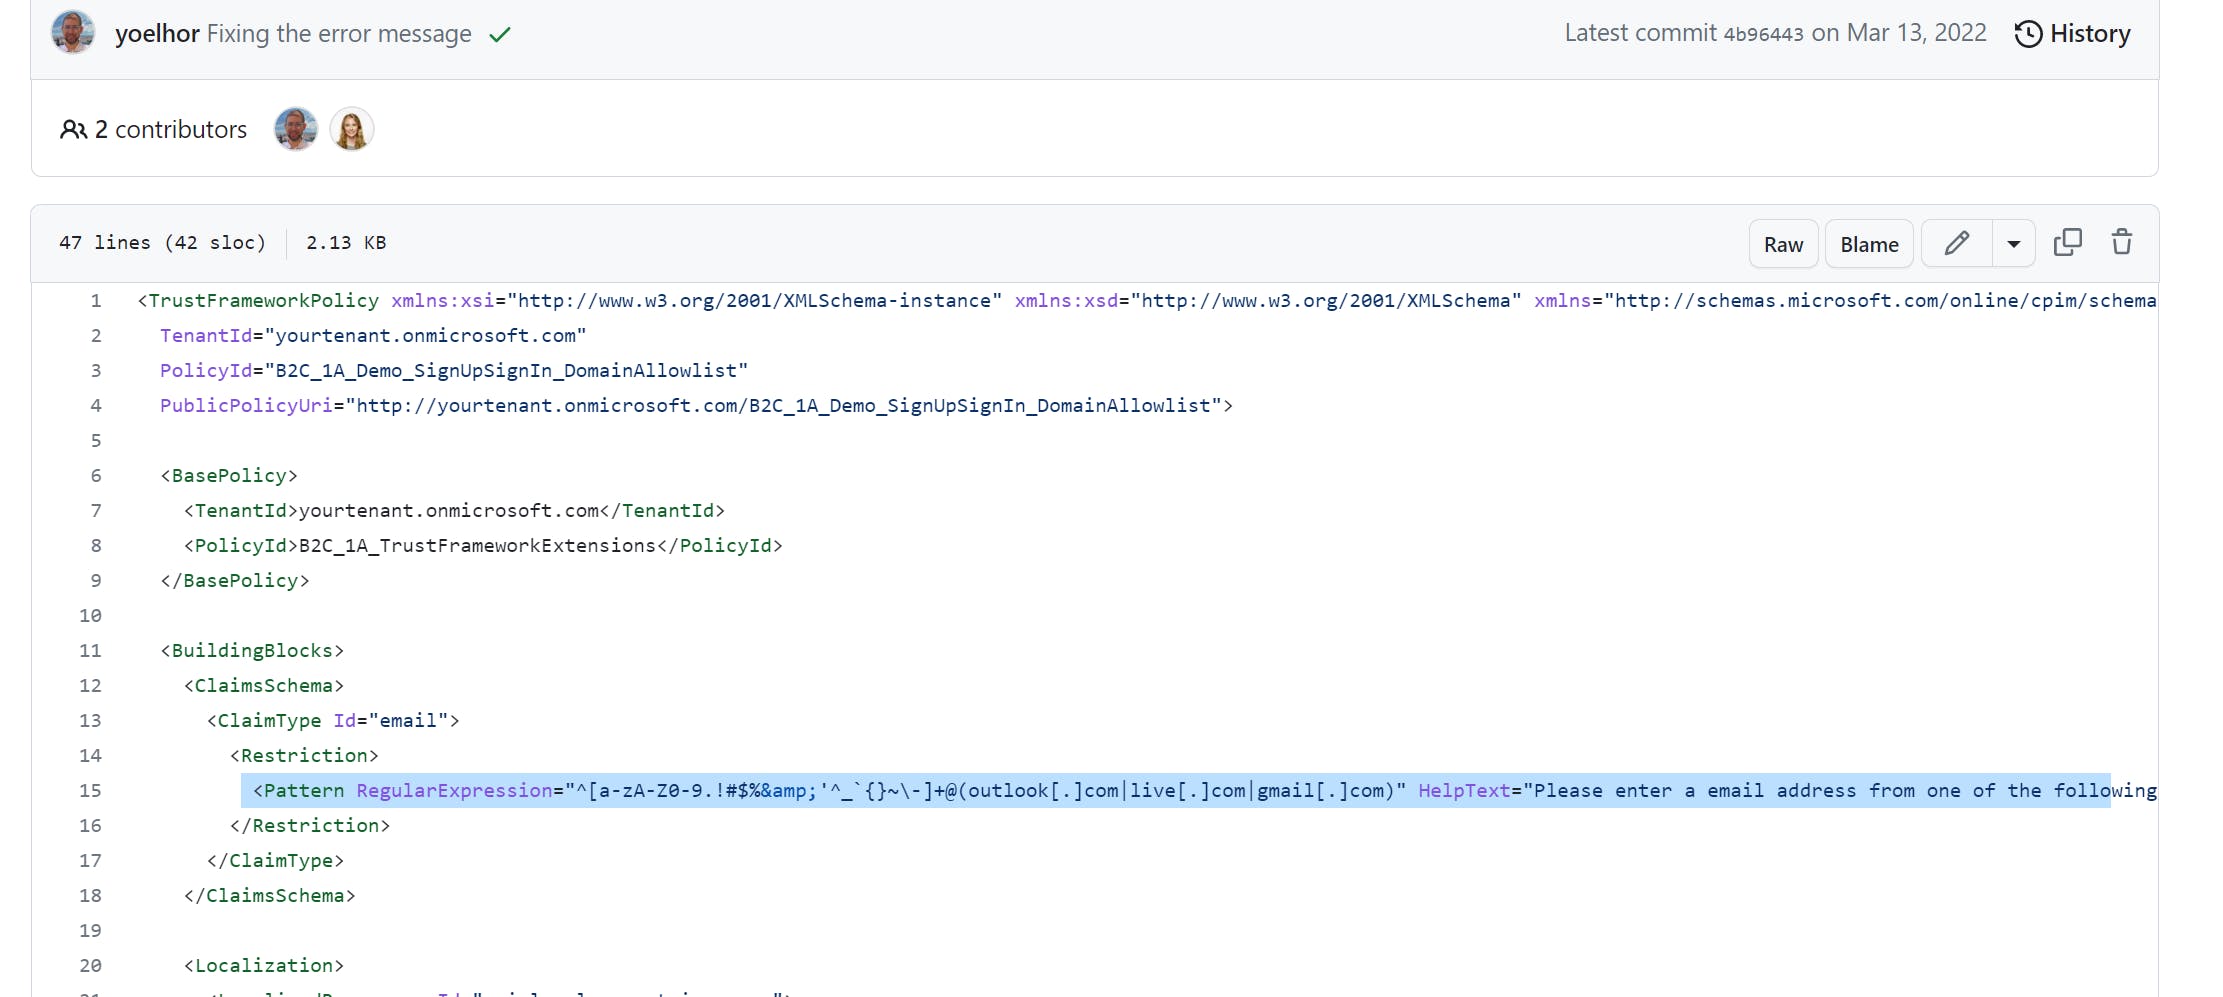
Search for <Restriction> node in the file, you will find the regular Expression used to validate the email address and HelpText that will be shown to the user if they provide an invalid email. Update Regular Expression and HelpText to meet your requirement.
Similarly, update yourtenant with your B2C tenant name and Save the change.
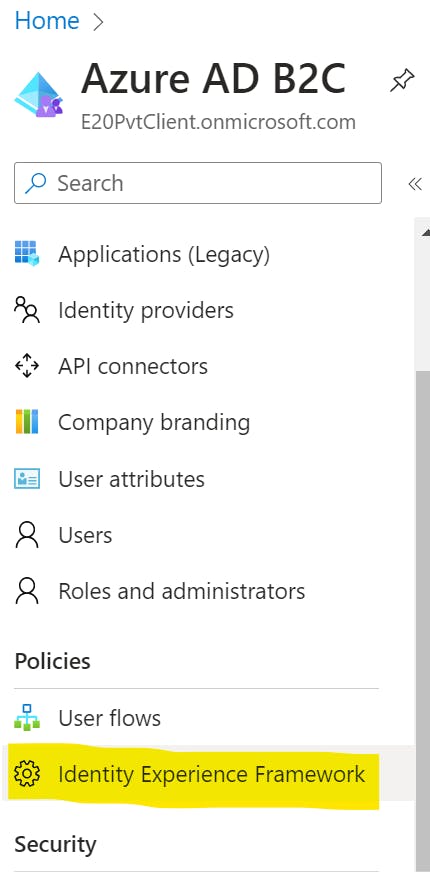
Now, head back to Azure portal -> Azure AD B2C -> Identity Experience Framework.
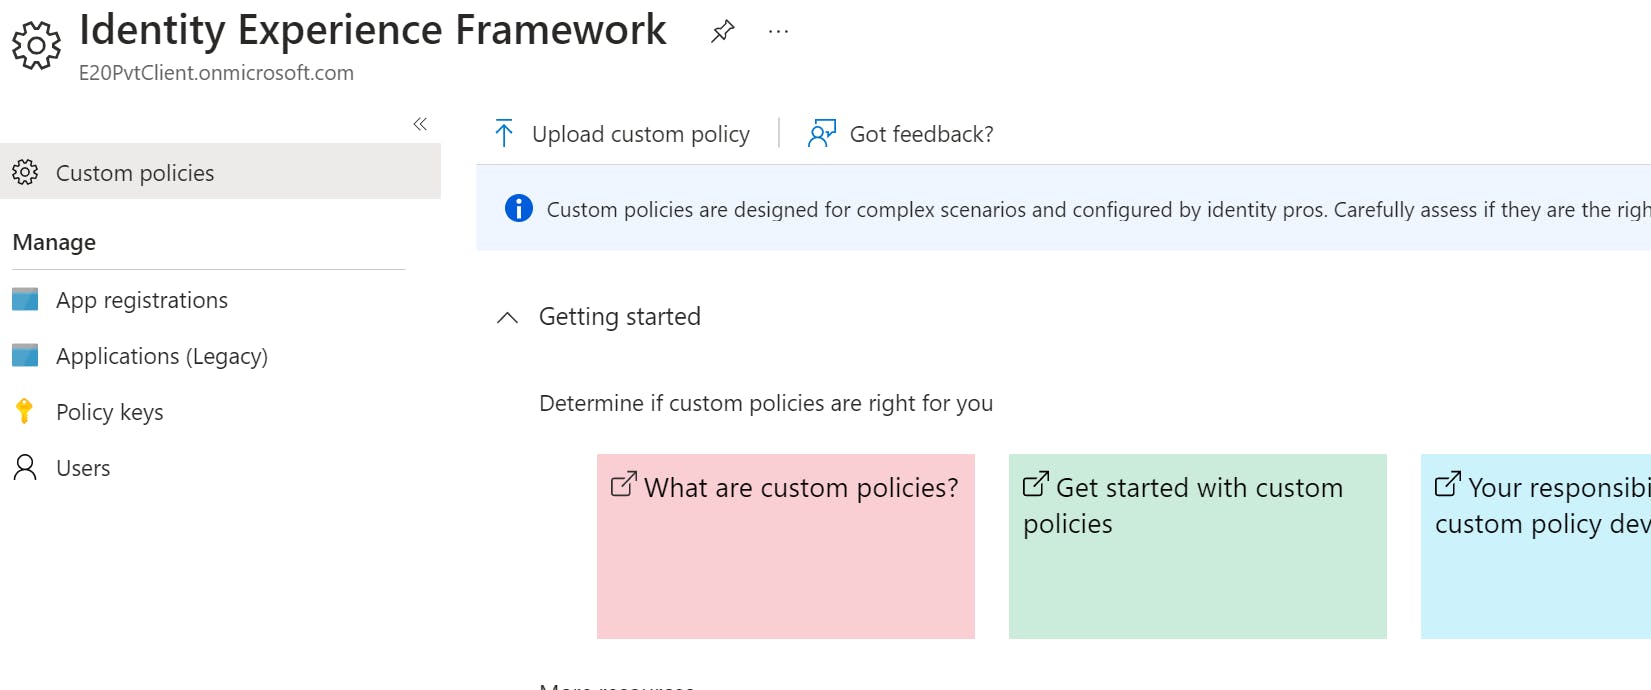
Click on Upload custom policy button to upload files in the following order:
TrustFrameworkBase.xml
TrustFrameworkLocalization.xml
TrustFrameworkExtensions.xml
SignUpOrSignin.xml,ProfileEdit.xml,PasswordReset.xml,SigninRestriction.xml
If you change the order, it will end up with an upload failure. The reason behind is that those .xml files are following the Inheritance model. For example, TrustFrameworkLocalization.xml file is derived from the TrustFrameworkBase.xml file. In our case, adding custom authentication logic is like adding extra inheritance levels below Extensions. The inheritance information is located under BasePolicy Node which you can find in all those files:

Next, click on the SigninRestriction.xml policy(It should be called B2C_1A_DEMO_SIGNUPSIGNIN_DOMAINALLOWLIST If you haven't updated the policy id)
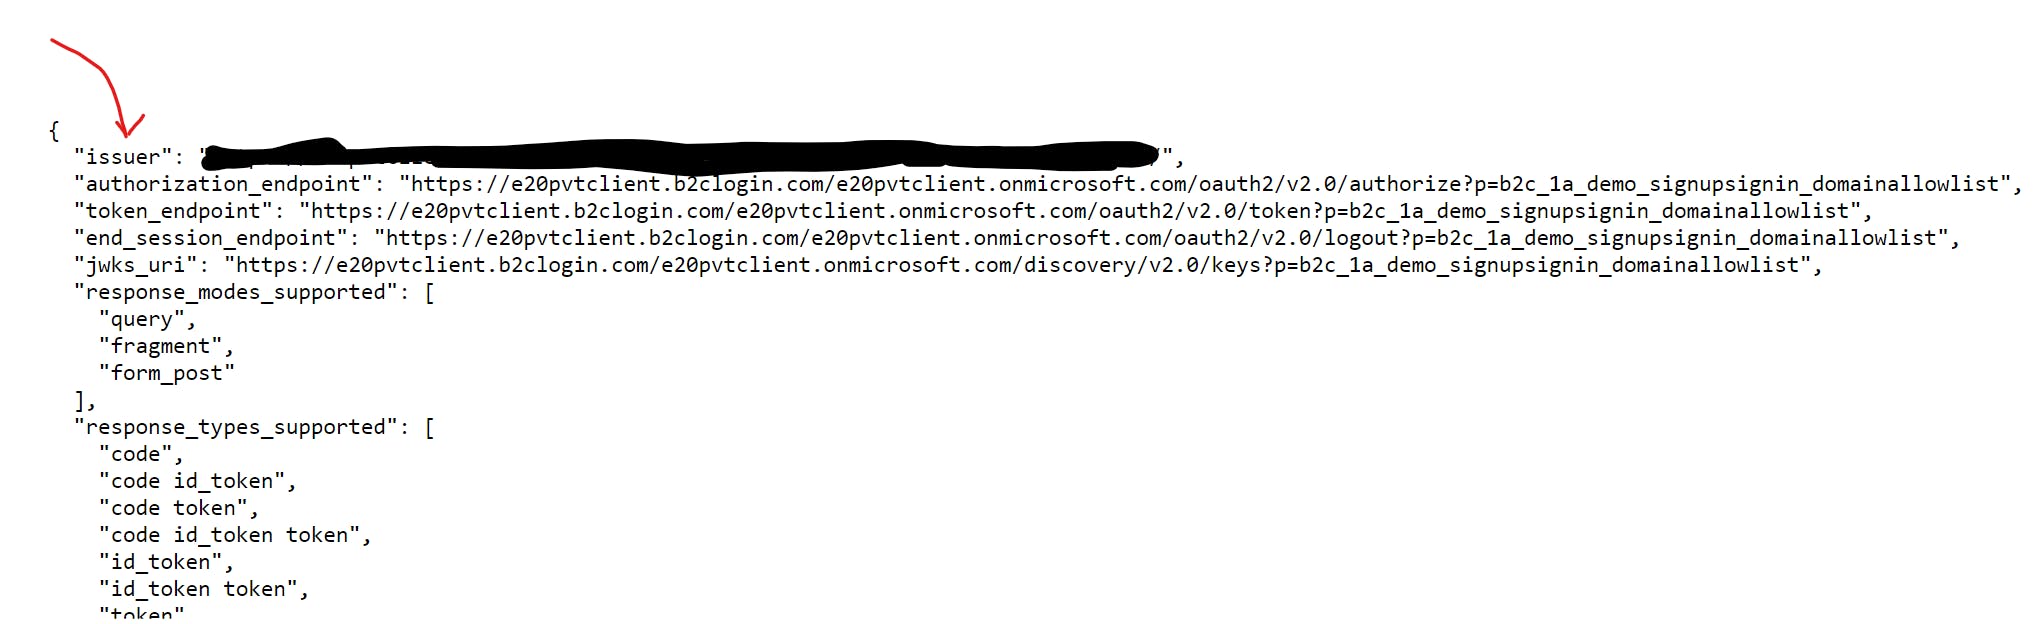
Click on OpenID Connect discovery endpoint link

Copy the issuer value which will be used when we set up the Power Pages solution.
🎉🎉🎉Congratulations, you have done all the setup from the Azure side🎊🎊🎊
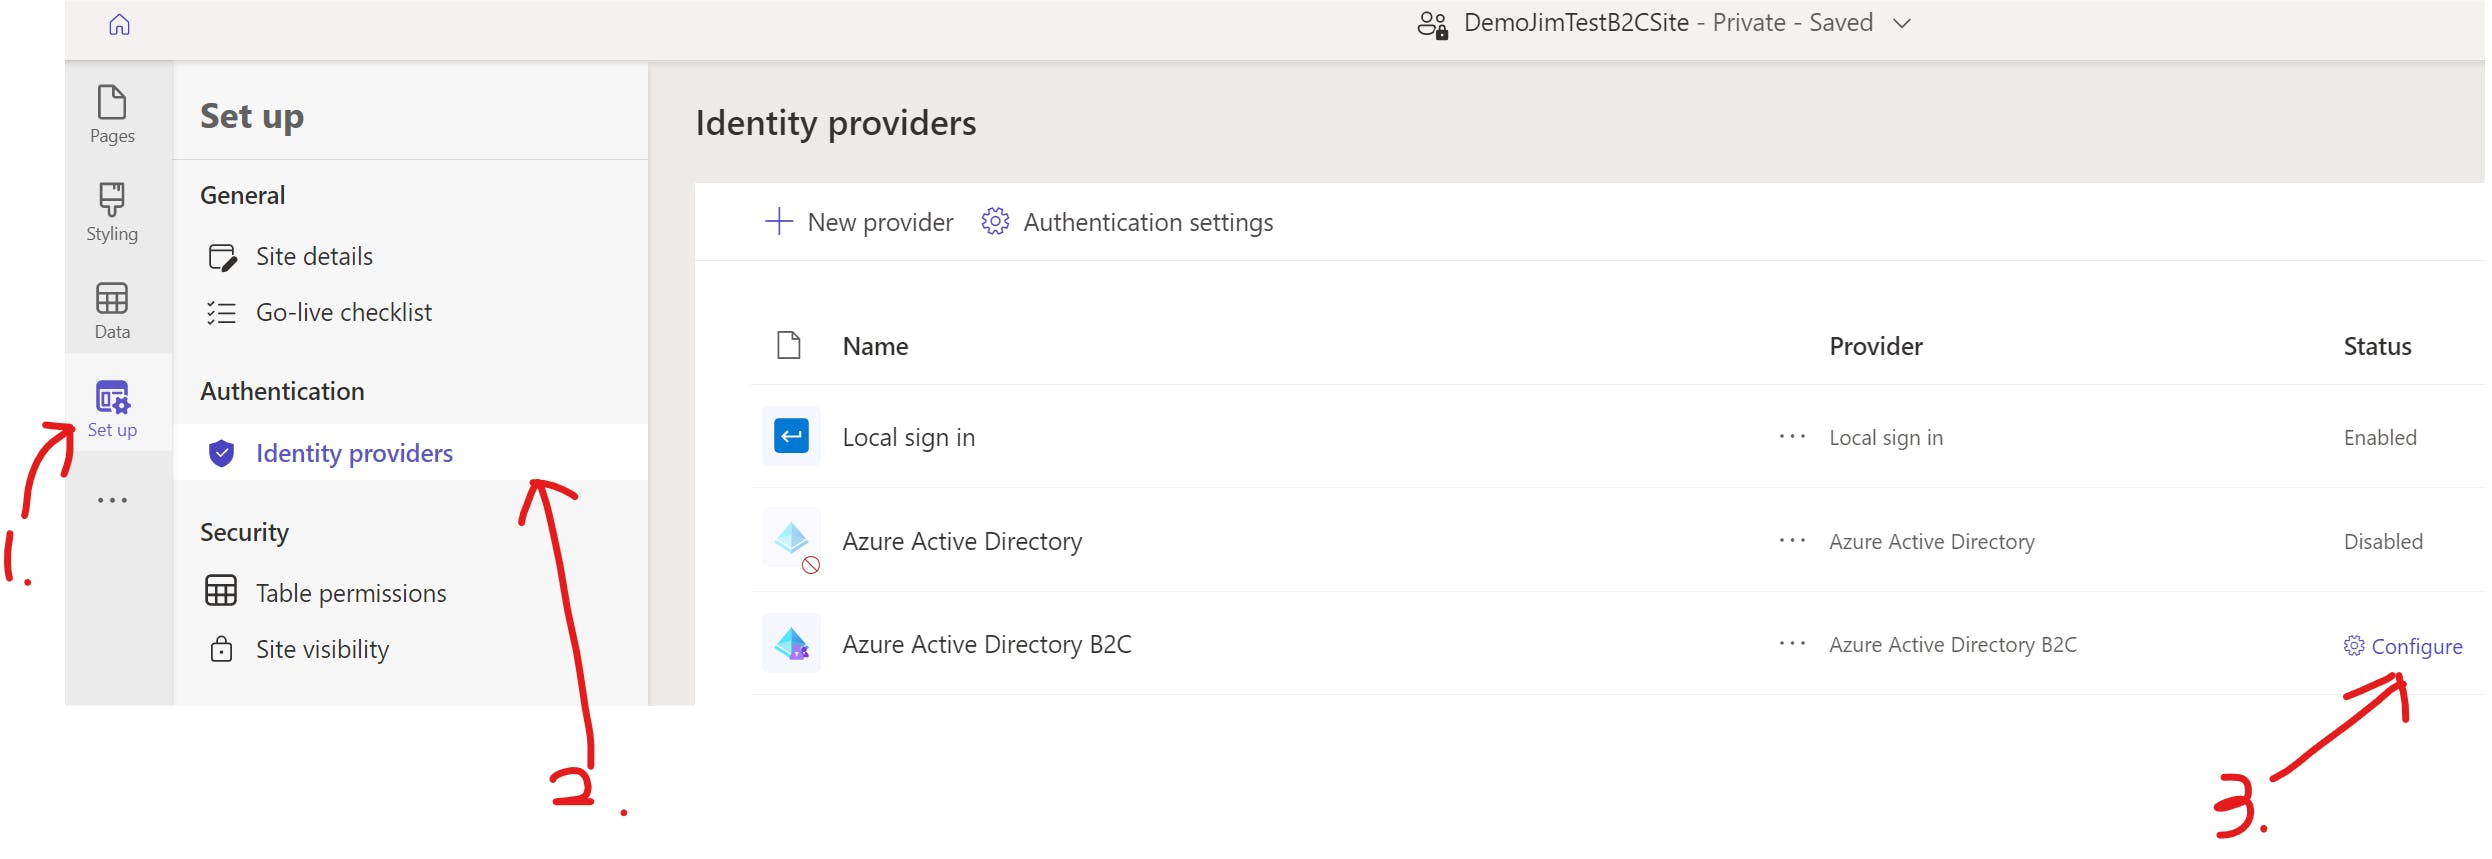
3. Configure Power Pages
Back to the Powerplatform environment where you have your Power Pages solution deployed.
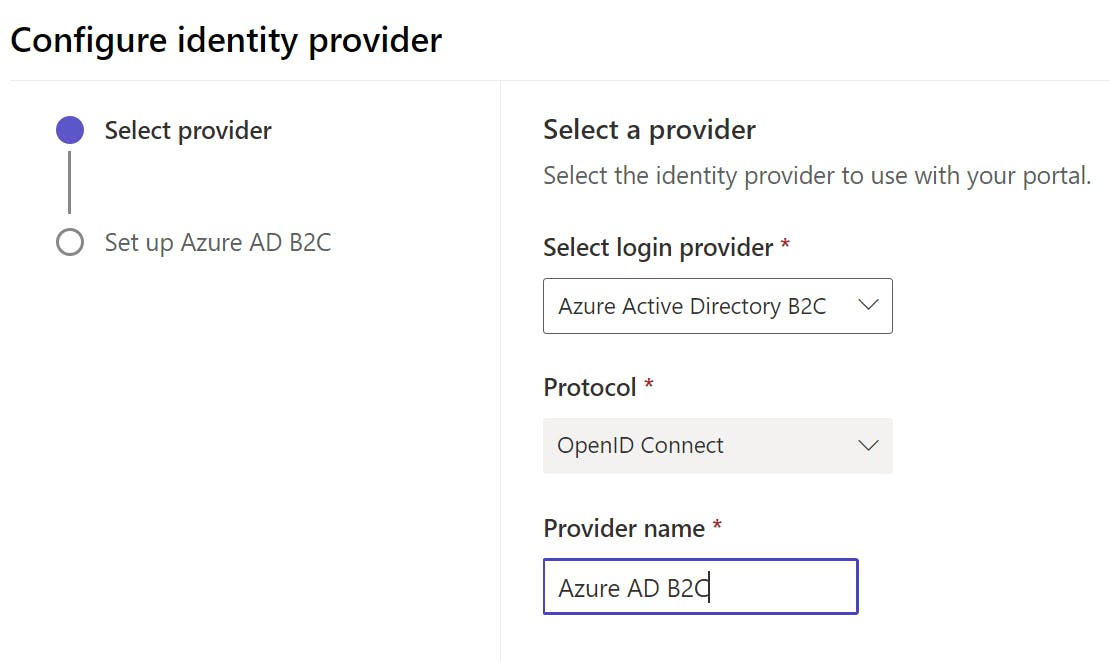
Click on Set up button and select Configure from the Identity providers section. You can disable Local sign in as well if you want all the user authentication done through Azure B2C.
Update Provider Detail:
On the next page, copy the issuer value from the previous step to Authority and copy ClientId of your Azure B2C App (Created in Step 1) to Client ID:

Redirect URL is your Power Pages solution URL. You only need to change it if you're using a custom domain name.
Leave the rest empty for now and click on Confirm to save the setting.
You are all set up!! Let's head over to the application and test the authentication flow.
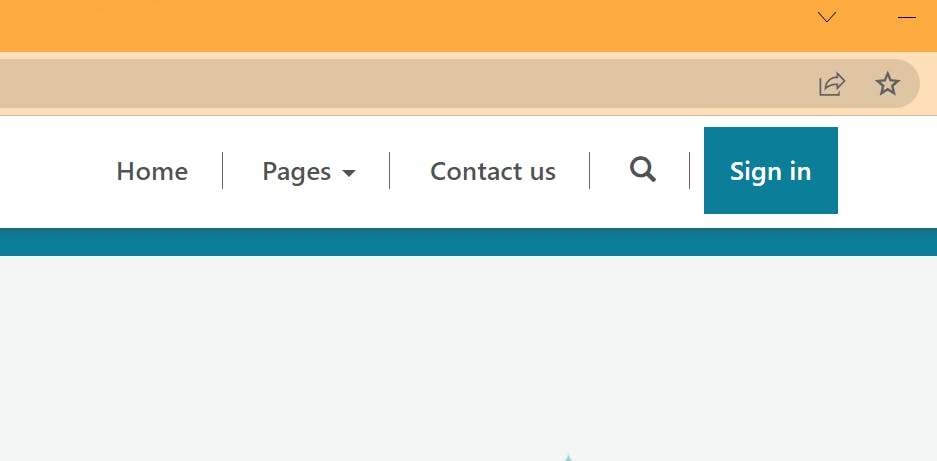
Click Sign in button
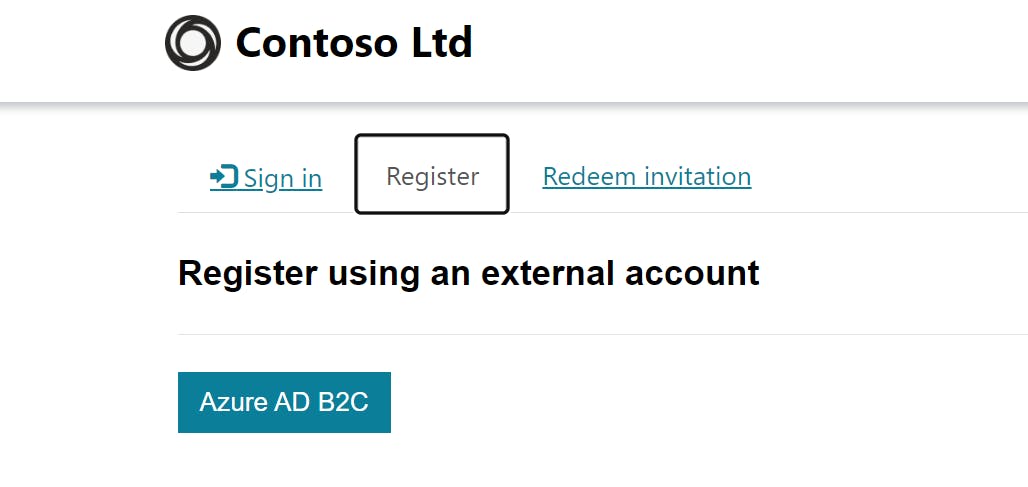
Under Register Click on Azure AD B2C button:
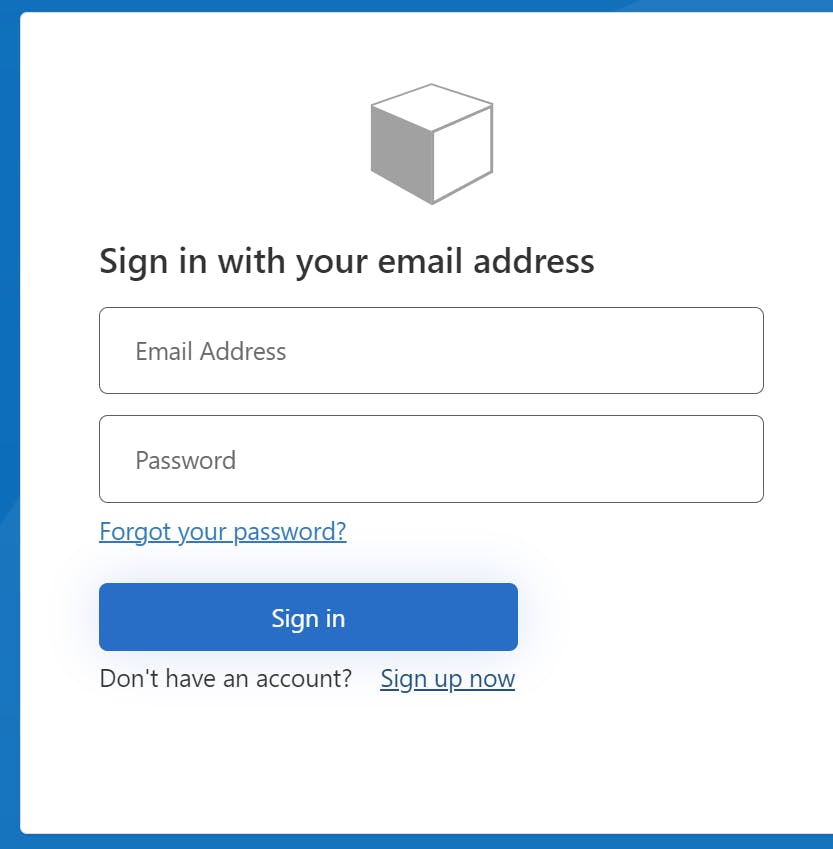
Click Sign up now
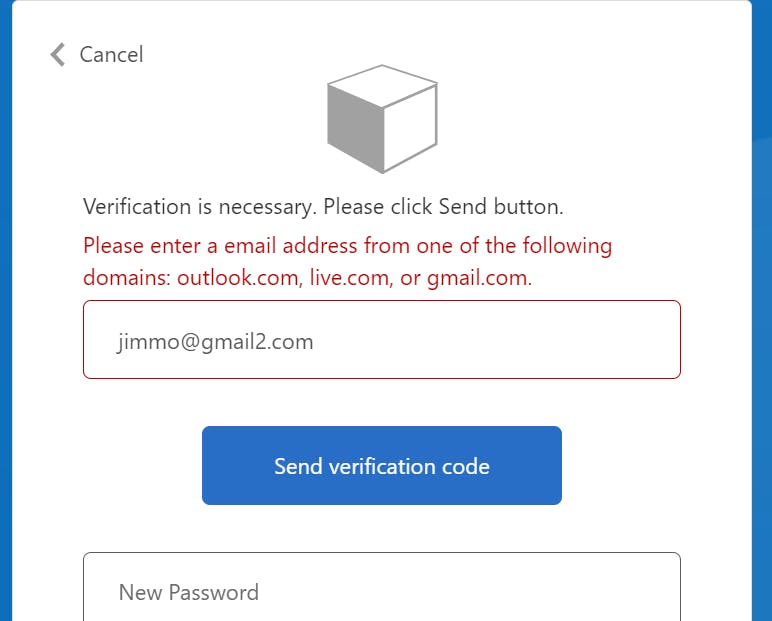
Provide an email with an invalid domain. An error message will appear based on your setup:
Summary
Security is a critical concern for all web-based applications, particularly publicly accessible website solutions like Power Pages. By implementing Azure Active Directory B2C, Power Pages administrators can eliminate the need to handle password and authentication administration tasks, while also gaining access to enterprise-level authentication functionality. This post intends to offer a basic implementation guide for those interested in setting up Power Pages with Azure B2C and authenticating users through custom policy. In future posts, I will explore this topic further and demonstrate how users can customize the authentication flow to cater to their specific needs for Power Pages. Comment below if you have any questions.
Happy sharing 🤝🤝🤝🤝🤝